Putting Your Best Face Forward: Smartphone Photos for Your Artist Website
 On Thursday, June 16th, 2016 at 7pm EST, artist Sue Schaffner presents her “Website, Blog & Email Essentials” webinar, an overview of best practices for your website, blog, and email marketing and communications. Below, Sue offers some tips on how to create a professional-level bio photo with your smartphone, a big step in creating a great first impression online.
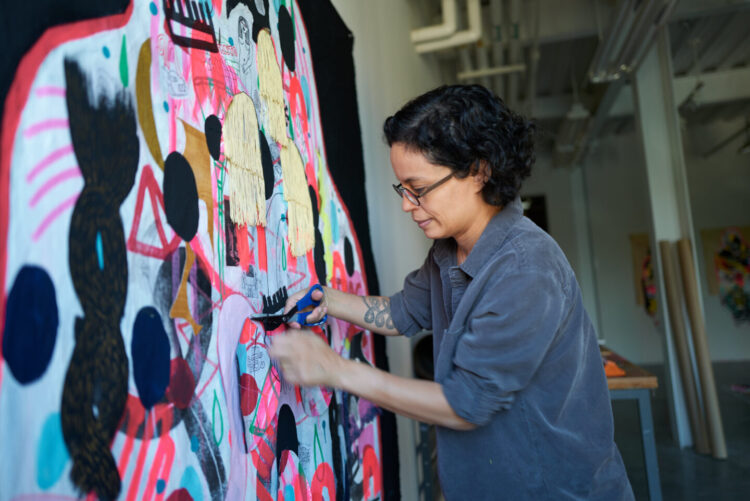
Being an artist doesn’t mean taking your personality out of your work. People love to know about your process. How did you do that? Why did you do that? What’s it like to be you? Without answers to some of those basic questions, it’s difficult to become connected to your work. One of the first steps to strengthening this connection is to help your audience develop a mental picture of what you look like. The web is all about visual sharing and your website is the most natural place for a photo of you to live.
Not only is having a bio photo helpful in connecting with audiences, it’s also a practical concern! The next time someone Googles “insertyournamehere” artist, it would be good if a photo of you showed up as opposed to a photo of a realtor in Arizona who leads an animal rescue. (Yes, that happened to me!)
You will need just two things to take a bio photo for your website: a smartphone, and a friend that can point it towards you and take direction. Once you have both of these, you can get started:
Go outside. Clouds are your friends, direct sunlight is not. Clouds create a diffuse soft flattering light as opposed to a harsh direct light that will fill every line of your face with a dark shadow and make you squint.
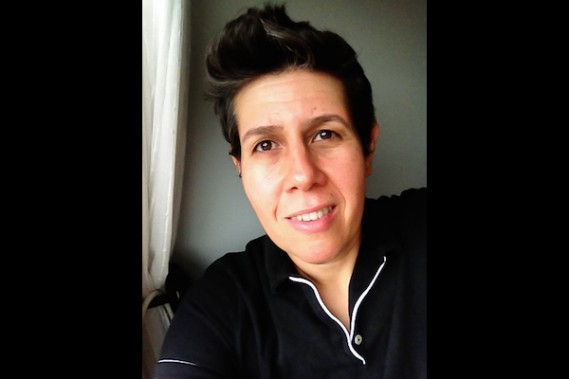
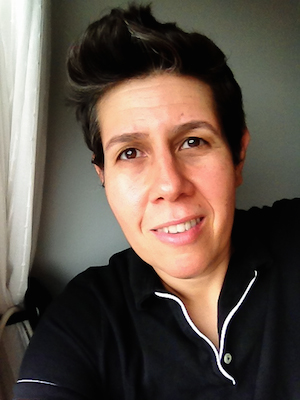
If the day is cloudless, look for covered shade which is usually created by something hanging overhead. It could be a canopy, tree branches or even a tall building. If you need to stay inside, take a note from the photo of me above: go close to a window and turn your face towards it.
Keep it simple. The photo is about you, so make sure that there is nothing else distracting in the shot. Backgrounds should be simple and clean. Tape a solid colored sheet on the wall and use that as a background if your location seems too busy.
Richard Avedon created one of the most famous location portrait series of our time by hanging a white sheet outside and photographing real people against it. Your tool kit is the same as Avedon’s, only instead of a field camera and a book deal you have a smartphone and a website.
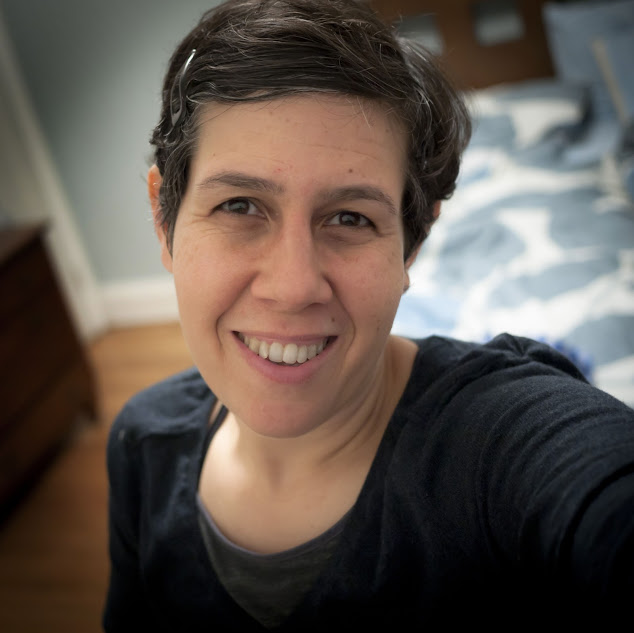
Fill the Frame With You. Look at your frame and ask yourself these questions: 1) Does the top of the frame come exactly to the top of my head? 2) Does the bottom of the frame come no farther than my torso? If the answer to either question is no, move in closer until the answer is yes.
Interested in learning more about online best practices from Sue? Click here to register for her “Website, Blog & Email Essentials” webinar on Thursday, March 31st, 2016 at 7:00pm EST.
![]()
More Online Resources
Every month, Creative Capital compiles a list of residencies, grant, and award opportunities as part of our commitment to sharing resources and opportunities for artists working in all creative disciplines. These opportunities have deadlines in May and June 2024.